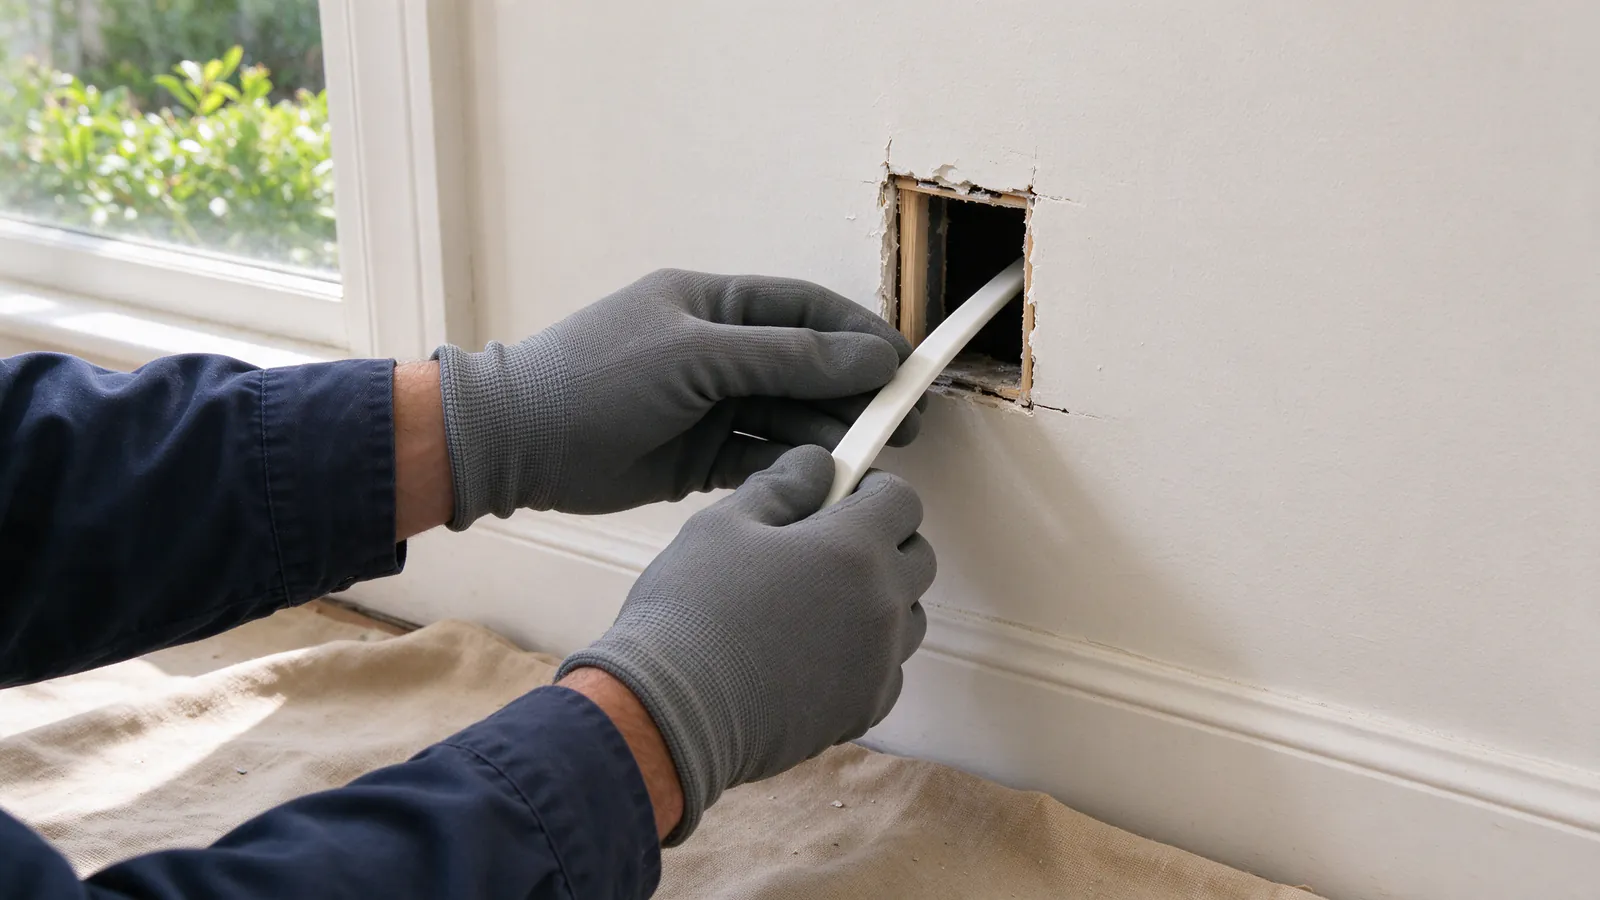
Knob and tube is replaced by running new grounded branch circuits along new routes and then retiring the old ones; it is never a matter of pulling new wire through the old knobs. The work runs in a fixed order: test and map every circuit, plan the new circuits, take out a permit, route the cable, install boxes and devices, pass inspection, then close and restore the openings.
Fog City SF Knob and Tube manages that process for houses and flats in San Francisco and the East Bay, and the electrical work is carried out by licensed and insured California C-10 electrical contractors. This guide is a homeowner’s explanation of what happens and why, not do-it-yourself instructions. It also covers how to get the house ready, because preparation shapes how smoothly the work goes.
Step 1: Test and map every circuit
Replacement starts with knowing what is there. Each circuit is identified at the fuse box or panel and traced to the lights and outlets it serves, separating three kinds of wiring: active knob and tube, abandoned runs that are no longer connected, and later cable that was spliced onto either. Accessible framing in the attic, basement, crawlspace and garage is examined without disturbing the wiring, looking for splices, insulation contact and damage.
That map is not paperwork for its own sake. It decides the scope. A house where an earlier remodel already replaced most circuits may need a partial replacement of three or four runs; a house that is mostly original needs a whole-house rewire. On a Fog City SF Knob and Tube walk-through every circuit is tested, and the knob and tube inspection explains what that covers.
Step 2: Turn the map into a rewiring plan
The circuit map becomes a plan for the new wiring. The original layout is not copied. Knob and tube circuits were laid out for lamps, often several rooms to one fuse, so the plan splits them into circuits that match how rooms are used now: dedicated circuits for kitchen counters, the bathroom, laundry and fixed appliances, and general circuits sized for bedrooms and living spaces.
Three questions get settled at this stage:
- Routes. Where each new circuit will travel, starting with paths through open framing and noting where a wall or ceiling will need an opening.
- Panel capacity. A load calculation shows whether the existing panel and service can carry the new circuits, or whether an electrical panel upgrade belongs in the same project. The panel upgrade vs rewiring guide explains why those are two decisions.
- Openings and restoration. Each expected opening is listed with who closes it. In the written scope and price from Fog City SF Knob and Tube, plaster patching is its own itemized line.
Step 3: Permit
A San Francisco DBI electrical permit is needed before new wiring goes in. DBI requires a separate permit for each existing dwelling unit except in R-3 occupancies, so a building of flats has one per unit in scope. Current DBI fees run from $305 for up to 10 outlets and devices to $1,289 for residential buildings of 5,000 to 10,000 square feet; a whole-house rewire usually lands in the $740 category for more than 40 outlets and devices, which includes four inspections. The San Francisco electrical permit guide walks through applying and scheduling.
Step 4: Route the new wiring
This is the part owners picture, and the part that depends most on the building.
What goes in the walls instead
NM-B cable is the usual choice inside walls, floors and ceilings: two insulated conductors and a bare equipment grounding conductor inside one plastic sheath. It replaces the two separate knob and tube wires with one cable that carries its own ground. San Francisco’s code amendments permit NM cable in multifamily buildings of construction Types III, IV and V up to six stories, and limit it elsewhere, including in nonresidential occupancies and above 120 volts to ground.
THHN/THWN conductors are individual insulated wires pulled through conduit. Where cable is not permitted, or where wiring would be exposed to damage, the conductors travel in a raceway instead of a sheath. Each conductor is a single wire, color-coded, with the conduit protecting all of them.
Electrical conduit is that raceway: metal or PVC tubing that protects conductors along exposed runs. San Francisco’s amendments treat premises wiring less than 8 feet above a walking surface as subject to physical damage, which matters along a garage wall or a basement where people walk. On the service side, San Francisco requires service-entrance conductors to run in a raceway such as rigid metal or PVC conduit of at least 1-1/4 inch. In Alameda, the Building Official notes that NM cable must be protected in crawlspaces 36 inches or taller, garages and utility rooms.
Metal-clad cable is another option in some locations, though the code does not allow it where it is subject to physical damage. Which method goes where is decided per run, not per house.
How it is routed
Cable is fished through wall cavities from above and below. In a two-story house, first-floor outlets are often reached from the basement or garage ceiling and second-floor ceiling lights from the attic. Where blocking, a fire stop or a beam interrupts a cavity, a small opening is made at that point. In plaster houses, openings are cut to sizes that can be patched cleanly; the plaster-wall rewiring service describes that approach, and the do electricians patch walls guide explains how restoration is usually divided.
Step 5: Boxes, receptacles and switches
Rewiring changes every connection point. Old outlets and switches were often mounted in shallow boxes, or no box at all, with two wires and no ground. Each is replaced or refitted so the new grounded cable lands in a box sized for it.
Where a wall stays closed, old-work boxes clamp to the plaster or drywall from inside an existing opening; where framing is open, new-work boxes fasten to the studs. Receptacles become grounded three-prong devices. The California Electrical Code adds three protections for new work: arc-fault protection for circuits in the areas CEC 210.12 lists, ground-fault protection in the locations CEC 210.8 lists, such as bathrooms, kitchens and garages, and tamper-resistant receptacles under CEC 406.12. The AFCI and GFCI guide explains what those devices do. Switches get the same treatment, and ceiling fixtures that hung from a bare knob and tube connection get a proper box.
At the panel, each new circuit lands on a breaker sized for its conductors, and the panel directory is labeled to match.
Step 6: Inspect before closing
DBI requires a pre-cover inspection before any wiring is covered or concealed, with 24 hours’ notice to schedule. Openings stay open until the inspector approves. DBI can order concealed, uninspected work exposed at the owner’s expense, which turns into patching nobody planned for. After the openings are closed, the final inspection includes a demonstration that the system works, and energizing requires DBI’s Certificate to Connect Current, the Green Tag.
Step 7: Retire the old wiring and restore
Once the new circuits are live, the knob and tube is taken out of service. Old runs are disconnected at both ends, removed where they can be reached, and otherwise identified and terminated, as the San Francisco Electrical Code requires for unused conductors. Removal from attics and basements also keeps a future buyer or inspector from mistaking dead runs for live ones; the knob and tube removal service covers that work.
Openings are then patched. At the end, Fog City SF Knob and Tube hands over a written circuit record and a labeled panel directory, so anyone reading them later can see what was replaced and, on a partial job, exactly what remains.
Ready to see the plan for your house?
It starts with a test of every circuit and a written scope that lists each opening and who closes it.
Preparing the house for rewiring
Preparation is mostly about access and decisions, and none of it involves touching the wiring.
Gather what you already have. Inspection reports, an insurer’s letter, past permits and any notes on earlier electrical work. These shorten the walk-through and often explain why a circuit behaves oddly.
Decide what the house should run next. A rewire is the cheapest time to add circuits for an induction range, a heat pump, laundry, a car charger or a home office. Saying so before the plan is drawn avoids a second project.
Clear the routes. Electricians need to reach the attic hatch, the basement or garage ceiling, the panel and the walls where outlets sit. Moving furniture a few feet from walls and clearing stored items from under the attic hatch saves time on the first day.
Plan the rooms. Work moves room by room, and rooms being worked are covered and closed off. Decide where you will work, sleep and keep food while each area is in progress; the living at home during rewiring guide goes into that.
Expect lead-safe practice in older paint. DBI presumes buildings built before 1979 contain lead paint unless a certified inspector shows otherwise, so openings follow containment and cleanup steps. The lead and asbestos guide explains what that adds.
Agree the paperwork up front. A quote you can compare names each circuit, opening, permit and patching line; the rewiring quote checklist lists them, and the cost guide gives the typical ranges.
How long all this takes depends mostly on access and the number of circuits, which the how long it takes guide covers. To start with your own house, call (628) 296-7628 or request an estimate with the age of the house, the number of units and what prompted the question.